|

|
|
|
Our quality control system, developed over the years,
is implemented right from the inspection of
raw material to the final dispatch. Our
testing lab is equipped with the necessary measurement and testing
tools to enable stage-wise product testing while being put
through the manufacturing process.
|
|
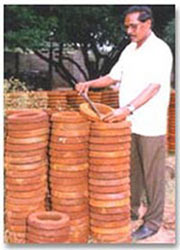
The
raw
material is fully inspected dimensionally and metallurgically.
It first goes through the process of crack detection.
Before being
released
for gear cutting, turn blanks are checked in
detail to ensure conformity to the
drawing requirement. The contact pattern on the Gear and Pinion is
developed in the soft stage on
the gear testing machine to suit the customers
requirement.
|
 |
|
 |
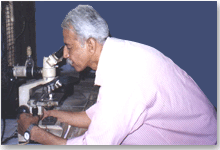
During the heat
treatment cycle, every batch is numbered and punched.
Hardened components are then checked for hardness and micro
structure. The metallurgical report is maintained
as per the heat code and
test pieces are preserved for counter checks. They are further
checked for cracks on non-destructive
type crack detection
equipment.
|
|
|
|
Running quality
i.e. noise, contact pattern and back lash variation of gear sets are determined by running mating
Gears & Pinions on the Hypoid gear tester.
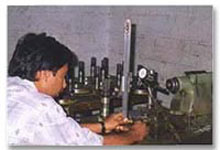
Gear Concentricity and tooth spacing is measured on
special devices. Finally, all the components are inspected to
conform to the drawing dimension and released for packing. |
 |
|
|
|
 |
|